

Remember that feeling of frustration when your speaker gives up on you right at the best bit of the song? And the worst part is that it leaves me feeling embarrassed because I know that the moment the music cut off, everyone at the signal around me heard my not-so-angelic voice.
It is never easy trying to recover from that moment, but it is easy to make sure that this situation never arises again. If you have ever had to sit there with no music playing, wondering ‘How to fix a blown car speaker?’ then you will find the answer right here.
Repairing a blown speaker is much easier that you think. By following five easy steps, your speaker will be good as new and your car rides will be something you start looking forward to once again.
How To Tell If Your Speaker Is Blown
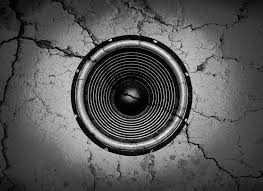
Before we get into the steps on how to fix a blown car speaker, you should know if it is your speaker that is causing the problem or some other component. There are a few easy ways to know if your speaker is blown.
You will figure it out if when you play your music, no sound comes out. Another way to know if your speaker is blown is to listen for any excess noise or distortion. If it is present, then your speaker needs to be fixed.
If you have felt a drastic reduction in the quality of sound your speaker produces, or even a lack of bass or treble, it is a clear sign of a blown speaker.
It is very easy to immediately know when your speaker needs to be fixed by paying attention to it. If your music plays at a lower quality, is missing some frequencies, gets interrupted by disturbances, then you have been made aware of the fact that your speaker needs instant repair.
5 Amazingly Easy Steps To Follow To Fix A Blown Car Speaker
Check Your Speakers
The first thing to do is to make sure that it is your speakers that are causing the problem. You do not want to dismantle the whole thing only to realize that they were working perfectly fine.
In order to check your speakers, follow these simple instructions. Play your music and slowly turn the volume up. If the music does not play or you hear disturbances such as rattling or shaking, then it is clear that your speakers are blown.
Once you are sure that it is your speaker, before getting into fixing it, it is very important to remember to shut off all the power. It could be dangerous fixing your speaker with the battery on and thus, always switch off the power before starting
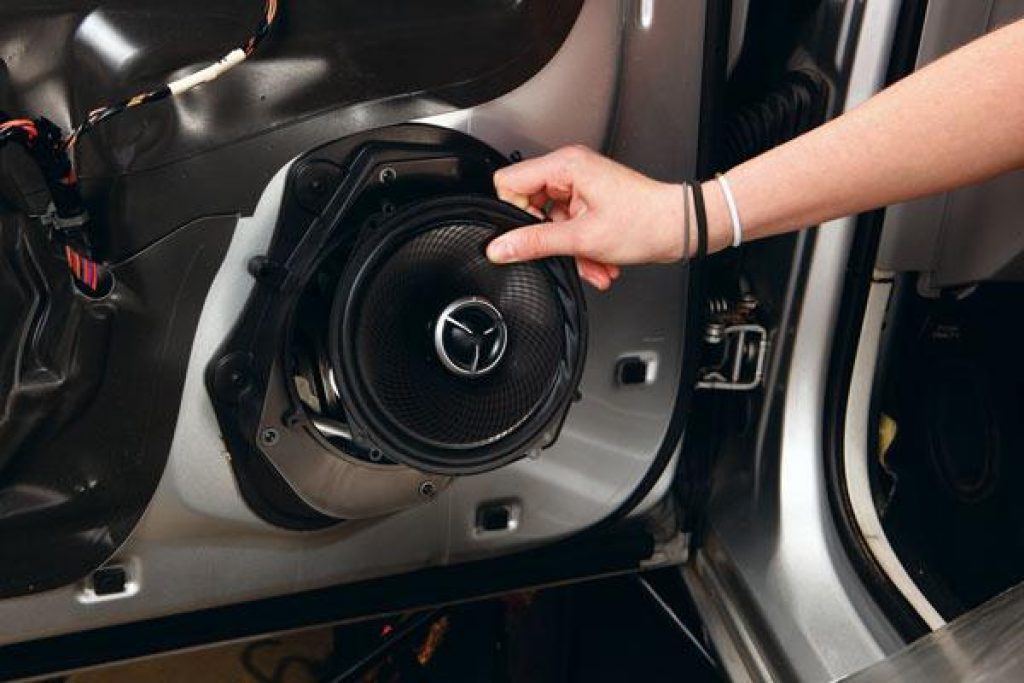
Remove Your Speaker

After you have switched off the car, it is time to remove the speaker from it. Using either a ratchet or a screwdriver, carefully unscrew the speaker. If you are unsure on how to do so, reading the car manual will always help.
The manual will have all the specific instructions to remove the speaker and after reading through it, you can do so with ease.
Dismantle the Speaker
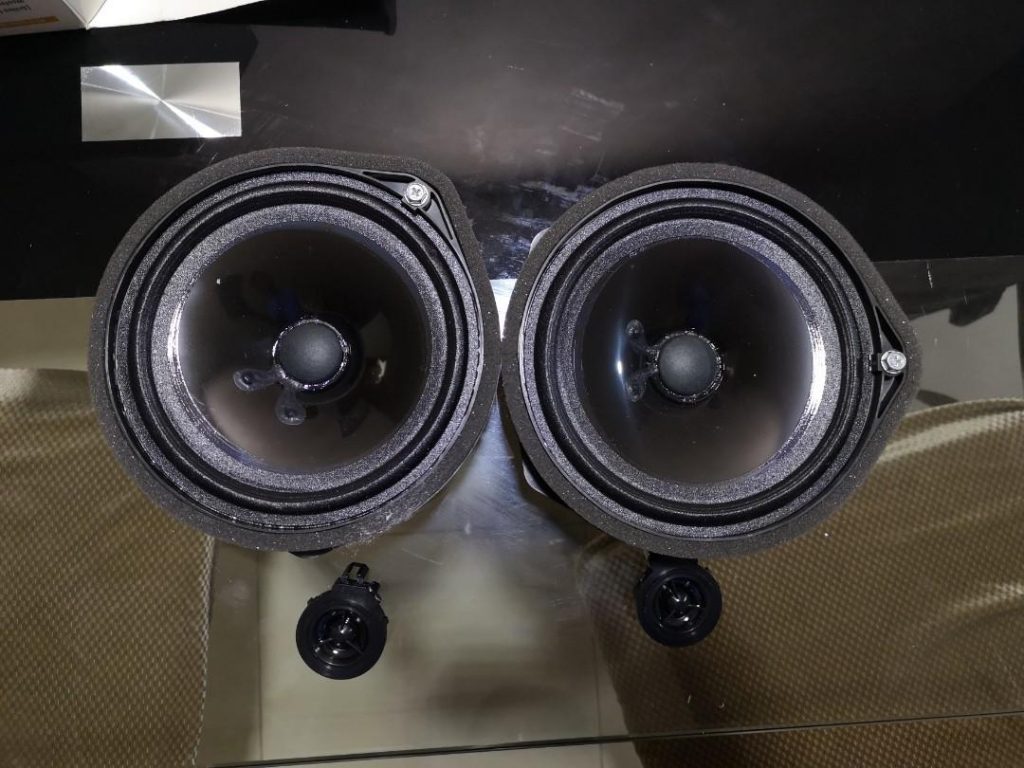
Using the screwdriver, open up the enclosure of the speaker. Next you will have to remove the surround foam, the cone, the voice coil and the old glue that it rested on.
Using a knife or a scissor, cut through the surround foam and cut it out. Do the same for the cone. Using the knife, make a small opening and gently peel the cone off without tearing it.
The next step is to remove the voice coil. Before removing the coil, disconnect all the wires that are connected to it. Once this is done, you will have to scrape off the old glue that was holding the damaged coil to the magnet. You can do so by using the knife to scrape it off, sandpaper of glue solvent.
Cleaning Your Speaker
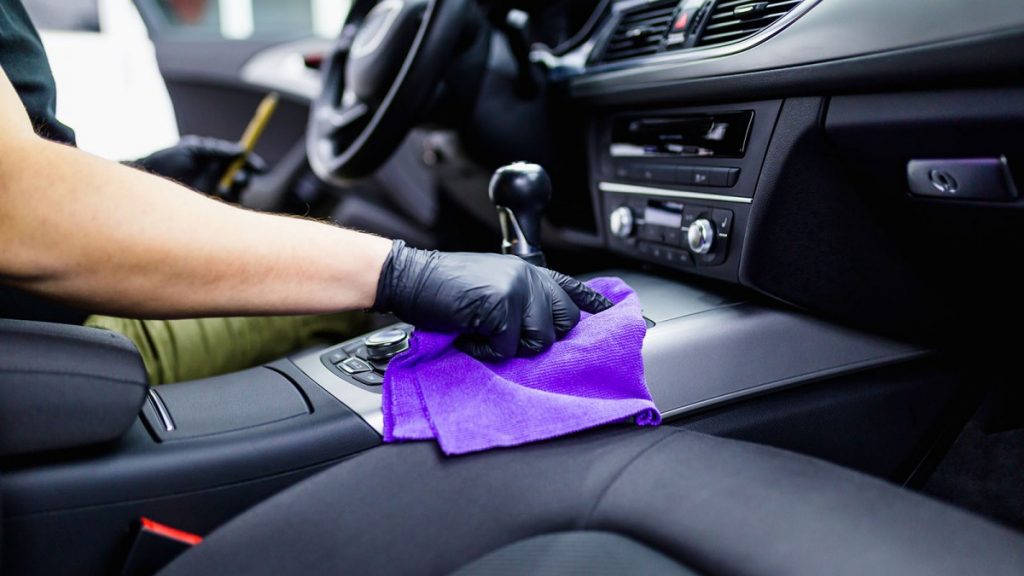
Before you add in any new parts, always clean your speaker thoroughly. Get rid of the dust and the dirt that has collected on it. Use a compressed air cleaner to get rid of the dirt.
If you want to get all those pesky corners clean as well, use an earbud or tissue paper with a bit of rubbing alcohol. Using the earbud or cotton pads will help you get any dirt or grime the cleaner missed and will be easier while trying to clean the little nooks.
Fixing and Putting Back Your Speaker
If it is the voice coil that needs fixing, you will have to get a new voice coil. After you have your new one, place it at the same spot as the original one. Using a strong glue, fix it back on the magnet and reconnect all the wires.
Ensure that the coil has been placed properly and let the glue dry for a while. Once it has dried, you can move on to fixing or placing the new voice cone.
If the voice cone is torn or cut, it is very simple to repair a cracked cone. You can also patch it back up with glue or tape. However, if the damage is beyond repair, you will need to replace it altogether.
Put the glue on the new cone and stick it back together in the same place as the previous one. Make sure it has been put properly and before you do the same to the surround foam, let the glue dry. After the glue has dried, stick the surround foam back into its place as well.
Once these three components have been fixed, you can screw the speaker back into its enclosure box and place it in your car once again. The speaker should be fixed back in tightly and properly.
Testing Your Speaker

Once your speaker has been put back into its place, it is time to test it out and see how well you have done.
Play your music and slowly increase the volume. If it plays clearly with no disturbance or distortion, then congratulations! You just fixed your speaker all by yourself!
Why Does This Happen?
There are three main causes for why a speaker gets blown.
The first is due to mechanical failure. This occurs when the cone vibrates more than what it can handle. It causes the cone to tear or break and depending on the amount of damage done, it needs to be repaired or replaced.
The second is due to thermal failure. Giving it excess power can cause the glue that holds the components together to melt. This causes them to shift and stop producing sound. In extreme cases, the part could burn or melt as the power supplied to them is much higher than its ideal amount.
The third reason is high volume. If the speaker is used at a volume more than what can be taken or at a high volume for too long, it can cause too much rattling of the parts. This would lead to them getting dismantled and unable to produce any sound.
Apart from these three, there are other reasons for why a car speaker gets blown. Clipping, physical damage or faulty installment could also lead to your car speaker getting blown.
In order to keep your speaker preserved in proper condition, avoid overpowering and playing music at levels too high for a long amount of time. The speaker must be installed properly and should be safe from any physical wear and tear.
Regularly checking the speaker and avoiding the reasons for speaker failure are easy ways to prolong its life span and prevent it from getting blown.
Conclusion
To prevent your new speakers from having the same fate as the old ones, it is good to know why the speakers get blown in the first place and to avoid doing the things that cause them damage.
However, if this situation happens again, you have all the required steps at your disposal. You do not need to worry about calling the mechanic and spending your money as you can follow these steps on your own with ease. These are simple to follow and you can get back to your car concert in no time!